If anyone reads my blog, you know that I do dearly love to challenge myself. Sometimes the results come out a little fair, sometime stuff isn't quite the challenge I thought it was.
Today, I'm reaching
way outside the beauty box, and I'm actually going to try sharing a recipe with you!
I made the Cheese Straws that are on page 21 of Trisha Yearwood's "Georgia Cooking in a Oklahoma Kitchen" cookbook. I have made several recipes out of this book so far, and have greatly enjoyed them. Sometimes the quantities are seemingly a little off, but the recipes are always good. I cook for two pretty picky eaters, and they've even liked everything they've tried from her book so far!
Legally, as the Cheese Straw recipe doesn't belong to me, I can not reprint it. However, Food Network sure
can!
Start with 30 ounces of cheese:
When I went shopping to make this recipe, I didn't remember that it called for a specific cheese. Oops. At any rate, two blocks of colby cheese...
...cut in to hunks...
...and fed in to the food processor! It occurred to me after the fact that I could have just bought shredded cheese, and saved myself the yelling at the food processor, but what fun would that have been? And food processor? I got my eye on you, man. I couldn't find any of the attachments. My husband walks in the kitchen, and the attachments practically throw themselves out of the cabinet at the guy. Can't get the thing to lock down. He looks at it, and it practically locks itself. Like I like the guy too, but come on. Why you gotta do me that way, food processor?
I split it in to batches for this next part. Once you've got the grated cheese, instructions call for you to mix it with butter, to the consistency of whipped cream. Which the recipe says will take a half hour. The food processor threw me under the bus before, but did me a solid on this one, because I had the largest, weirdest looking bowl of cool whip I'd ever made, in about ten:
Apparently that's what you get when you mix grated, room temperature cheese with butter. Good to know, right?
So, after you've done that, set that bowl aside, and turn to the dry ingredients.
Big ups to the good people at
Bob's Red Mill for this flour, which does perform exactly as regular flour does. I'm not Celiac, but I'm also not supposed to have gluten. This flour seems to perform exactly as regular white flour. It's more expensive, but the convenience is worth it!
The afore mentioned flour was joined by salt, pepper, cayenne pepper and a little garlic powder. I've now got my "dry team" and my "wet team", as Alton Brown used to say.
Slowly add dry to wet, until you get a dough like consistency.
Pro Tip: If you're making a recipe that, like this one, asks for a piping bag, a Ziplock freezer bag with a corner cut off is an excellent substitute.
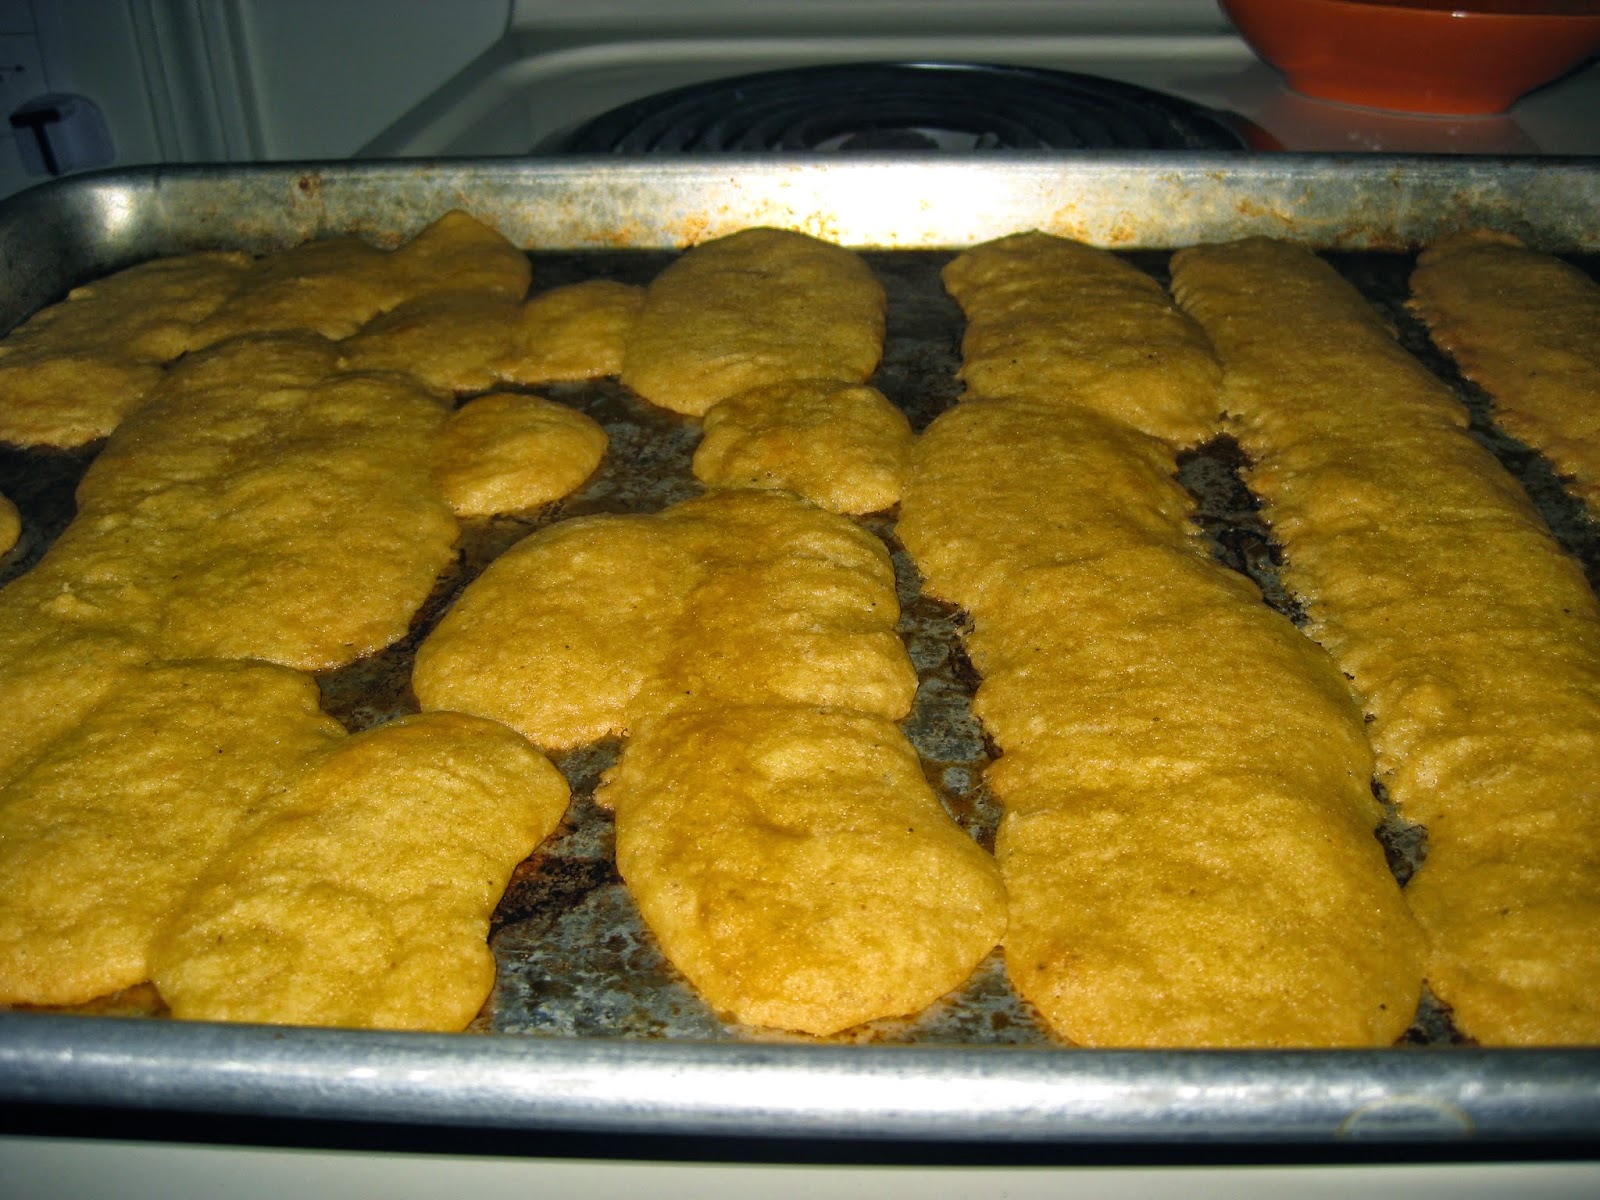
Piping didn't go super smooth - a couple of the lines broke up, but piped on to the pan, and ready to go.
Guess what I learned? The dough GROWS! So, first batch joins the not at all exclusive "So it tastes good, but doesn't look real pretty" club. In the recipe, it says that if you don't have the piping bag, round them out like a cookie...
...she's probably the professional for a reason, right?
Yes she is. Cause that is one gorgeous cookie.
The recipe makes easily enough - you'll dirty a few bowls, but you were probably going to do that today anyway. If you round them out like a cookie, they make gorgeous. Light and buttery and cheesey. Might be a good appetizer for those without much of a sweet tooth. Passes the picky eater test, cause I just had to remind my eight year old to stay out of them, because he hadn't actually eaten dinner yet!
Using the Gluten Free flour makes them gluten free, obviously. And there's no egg, so if that's your allergy, you're good there. My dairy free friends will have to play around a bit more, because there's dairy at every turn in this recipe.
Cooking with you guys is pretty fun, "Fresh Food Friday" may become a more regular event! See you next time, lovelies!


.jpg)
.jpg)


